
Now just to give you an idea of my silly little goose..here she is wearing some of her Aunt and Grandma's clothes...put together by herself of course.

 I didn't want a full on monkey room theme because I love monkeys too much to end up hating them. I wanted to mix it up and make a statement that children's bedroom don't have to consist of one mainstream brand. I wanted a whimsical room full of character and the unexpected.

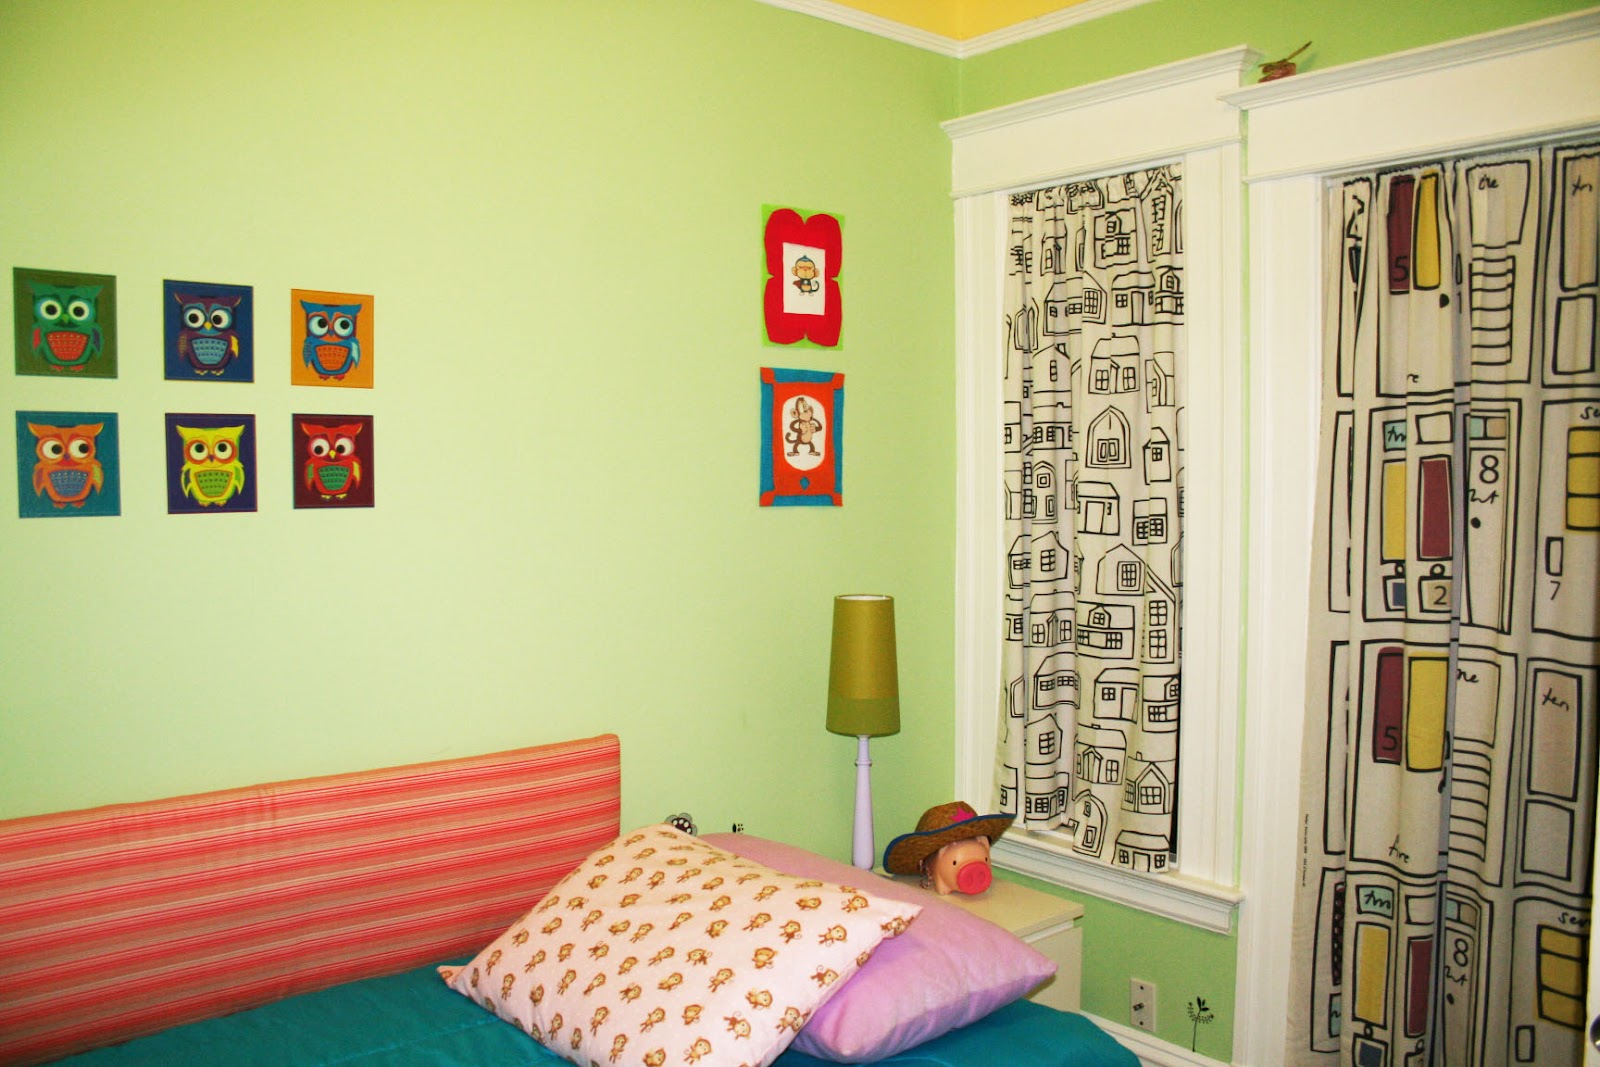
 In last years Ikea magazine I came across the newly designed fabric by Emma Jones. I loved the hand drawn pattern of houses and doors and knew I wanted to use this style some day. And voila! Here it is in my daughter's room used as a curtain and closet cover. They were $4.99/yd. BUT as I was searching through the pile of remnant I came across a pattern that was similar in color as the door (shown above) pattern only it was houses. It was probably 2 yards, maybe less, but I picked it up along with the other two chosen patterns. Lucky for me they could not locate the price for the door design so they priced it the same as the remnant at $1.99/yd. BARGAIN! I love when that happens!
 I know I know..she needs a new T.V.! LOL..BUT hey we used what we had and stuck to our budget.
I had some left over fabric so I cut out the houses, glued them onto some black poster paper for stability and used it as wall art. I found my old wall decals of branches with birds that I never used to add that unusual effect.
 Her own little space to draw..and eat..this is where her T.V. used to be placed on top of a vintage sewing table. That was horrible and I can't believe we had it in her room for 2 years! To make it even more claustrophobic she used to have a closet door that was placed ergonomically incorrect. When her room door and closet door were both open the T.V. was closed in. So naturally that door had to go and we moved the massive T.V. arrangement to effectively use that space. Oh and by the way...the only Disney traces are of this Tinkerbell nightlight and a Princess and the Frog pillow that I turn over and will soon be covered with the remnant I found at Ikea...she would not let it go..
With an extremely small budget and putting practicality to good use, I was able to transform my daughter's room into her own little oasis. Now she stays in her room comfortably and with the addition of her little table set, I've provided her with her a own little art space where she loves to sit and paint or color allowing her to develop a new set of skills.
This project is one of many that proves you can re-decorate on a small budget. As long as you go in the project with an open mind, your goals will be met.~MG

My husband and I find that if we give a little warning for something she is about to experience, she won't fuss or make a big deal over it. For weeks I warned her that she had to say bye bye to her princess theme and she was okay with it. Lately she's been into monkey's so going into the design I asked if she wanted a monkey themed room. She was thrilled and even said she wanted monkey decals. I took that into consideration but it was surprisingly difficult to find the monkey decals we were looking for which were a set of monkeys making silly faces. I had a $400 budget which a majority went towards the bed. I found monkey decals on ETSY but they were way out of my budget. So I got creative and found my silly monkeys and turned them into portraits. I initially wanted some ornate frames spray painted in neon colors but it was way out of my price range so I decided to make them with felt.
I made the side board myself using the same technique you would as a headboard. All I paid for was the fabric and the batting which is the Christmas snow batting used to display those Christmas villages. It came in a roll and it was 70% off. The fabric was also 30% off! While getting my fabric cut, I noticed a pile of leftover cardboard in which the fabric is rolled in. I asked if I could have a few and the lady said I can take as many as I wanted. This was the base of the board.


I had some left over fabric so I cut out the houses, glued them onto some black poster paper for stability and used it as wall art. I found my old wall decals of branches with birds that I never used to add that unusual effect.

With an extremely small budget and putting practicality to good use, I was able to transform my daughter's room into her own little oasis. Now she stays in her room comfortably and with the addition of her little table set, I've provided her with her a own little art space where she loves to sit and paint or color allowing her to develop a new set of skills.
This project is one of many that proves you can re-decorate on a small budget. As long as you go in the project with an open mind, your goals will be met.~MG
Her room looks amazing! Great job utilizing a small space. Nice to see the evolution of her taste as she gets older =)
ReplyDelete- Justine
Happy New Year! How crazy was your holiday season? Well, looking at the room of your darling, I think she’ll have fun drawing on that small table you have for her. Overall, it was a great idea for you to pick vibrant colors. That's a plus factor because it can definitely keep the atmosphere in there lively.
ReplyDeleteRandell Jeffries